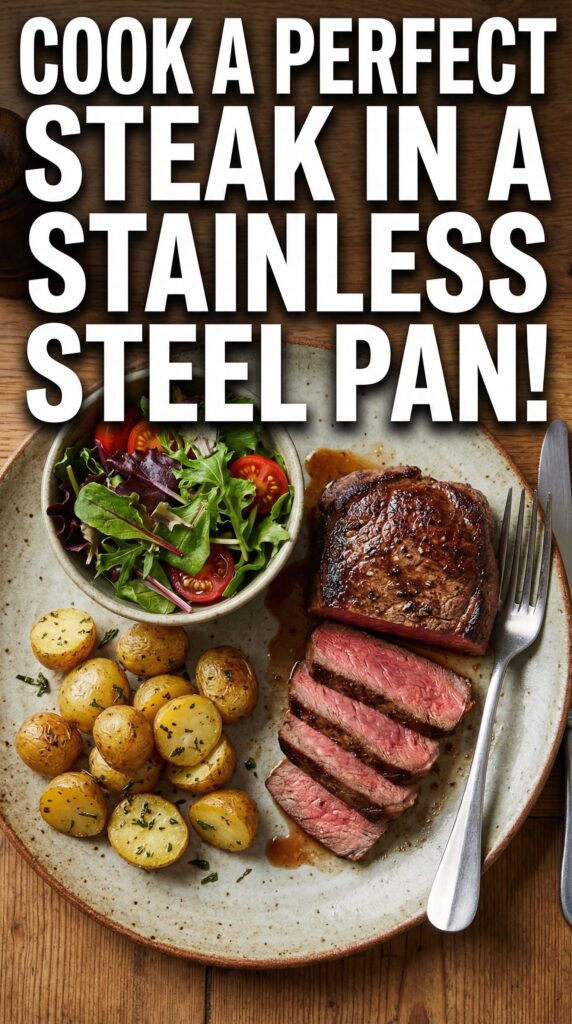
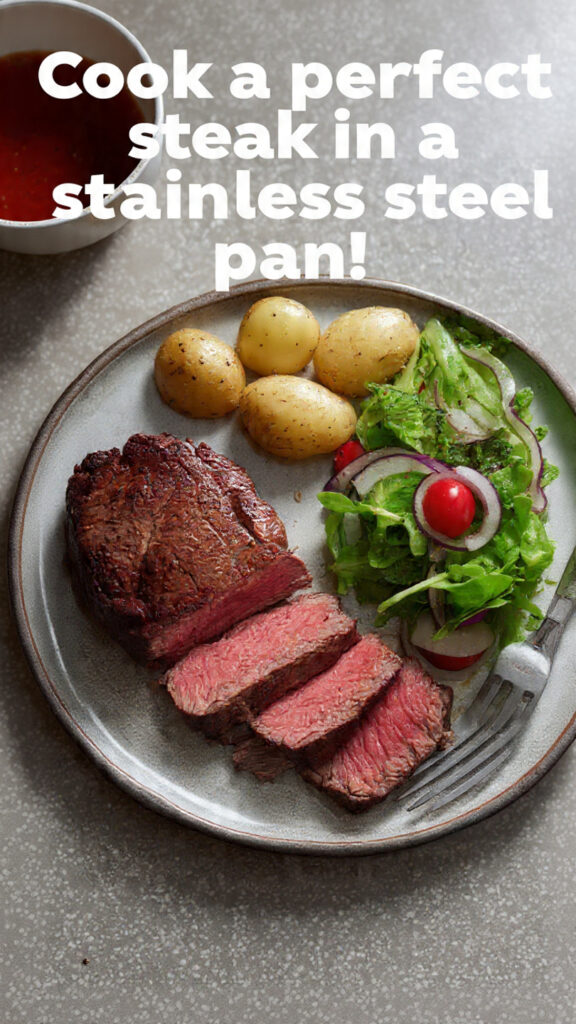
How to Cook Filet Eye Steak in a Stainless Steel Frying Pan with a Lid
Cooking a tender, restaurant-quality filet eye steak at home is absolutely possible, even without a grill. All you really need is a good stainless steel frying pan, a lid, and a few simple techniques.
This post may contain affiliate links, which means I’ll receive a commission if you purchase through my link, at no extra cost to you. Please read full disclosure here.
Stainless steel can feel intimidating if you’re used to nonstick pans, but it actually gives you better browning and flavor. Once you understand how to manage heat, oil, and timing, you’ll get a beautifully seared steak with a juicy, perfectly cooked center.
This guide walks you through every step, from choosing your steak to resting and serving, so you can confidently cook filet eye steak any night of the week.
Choosing and Preparing Your Filet Eye Steak
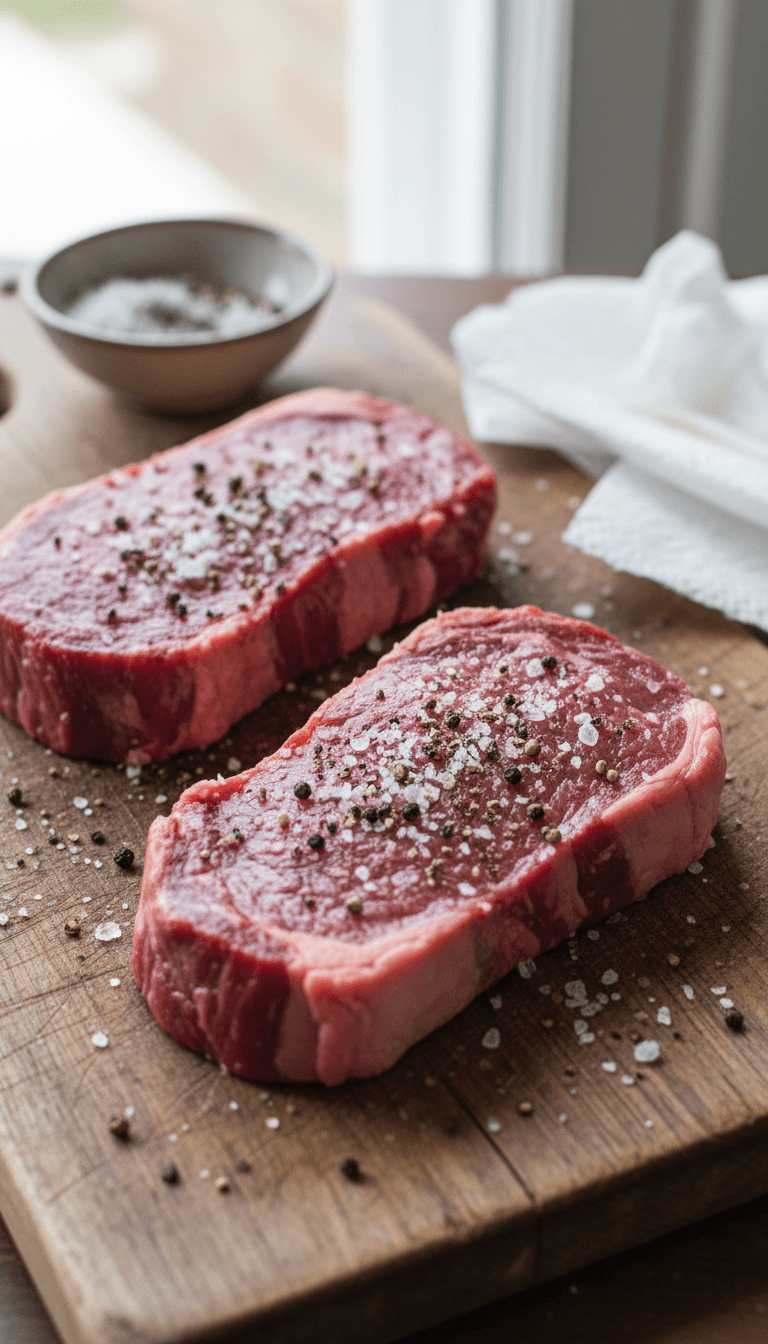
A great steak starts with great meat. Look for filet eye steaks that are well-marbled, evenly shaped, and at least 1 to 1.5 inches thick.
- Choose steaks that are bright red with small streaks of fat (marbling)
- Aim for similar thickness so they cook evenly
- Pat the steaks completely dry with paper towels
- Season generously with coarse salt and freshly ground black pepper
Let your steaks sit at room temperature for 20–30 minutes after seasoning. This helps them cook more evenly and promotes better browning in the pan.
Action tip: Pat the steaks dry right before they hit the pan; moisture is the enemy of a good sear.
Preheating Your Stainless Steel Pan the Right Way
Stainless steel needs to be properly preheated to prevent sticking and to get a deep, flavorful crust on your steak. Too cold and the meat sticks; too hot and the outside burns before the inside is done.
- Place the stainless steel pan on medium to medium-high heat
- Let it heat for 3–5 minutes before adding any oil
- Test with a water droplet: it should dance and bead on the surface
- Add a high-smoke-point oil (like avocado, canola, or clarified butter)
Once you add the oil or butter, tilt the pan so it coats the bottom in a thin, even layer. When the oil shimmers and flows easily, your pan is ready for the steak.
Action tip: Use the water-drop test instead of guessing; it’s the easiest way to know when your stainless steel pan is hot enough. Just make sure it’s not too hot, I had to test with my electric stove top to find the best temp.
Searing the Steak for Maximum Flavor
Once the pan is hot and the oil is shimmering, it’s time to sear. This step builds the deep brown crust that makes steak so satisfying.
- Gently lay the steak in the pan away from you to avoid splatter
- Do not move the steak for the first 2–3 minutes (initially I will move my steaks around to try to stop it from sticking then let it sit)
- I found this really useful if you steak is really thick use a lid on top, it also stops splatter, or only use a lid for finishing (next heading).
- Sear the first side until a deep golden-brown crust forms
- I found it really improves the taste if using butter to drizzle the butter over the steak while it cooks to keep it moist. I also do this with burgers and they are so much more juicy so worth the effort!
- Flip and sear the second side for another 2–3 minutes (adjust to how thick your steak is, make sure to set a timer its easy to lose track of time).
If your steak has a fat cap, use tongs to hold it on its side for 30–60 seconds to render and crisp the fat. Avoid overcrowding; give each steak enough space so it sears instead of steams.
Action tip: Resist the urge to poke and slide the steak around; letting it stay put is what creates that beautiful, flavorful crust.
Finishing Under the Lid for Perfect Doneness
After searing, you’ll use the lid to gently finish cooking the steak to your preferred doneness. This mimics an oven effect right on the stovetop.
- Reduce heat to medium-low after searing both sides
- Add a tablespoon of butter, plus crushed garlic and fresh herbs (optional)
- Spoon the melted butter over the steaks for extra flavor
- Cover the pan with a lid and cook for 2–5 more minutes, depending on thickness
Use a meat thermometer if you want precise results:
- 120–125°F: rare
- 130–135°F: medium-rare
- 140–145°F: medium
The lid traps heat and gentle steam, finishing the interior without burning the exterior.
Action tip: Pull the steak when it’s 5°F below your target temperature; it will rise slightly as it rests.
Resting, Slicing, and Serving Your Steak
Resting is the final step that turns a good steak into a great one. It allows the juices to redistribute instead of spilling out onto your cutting board or plate.
- Transfer steaks to a warm plate or cutting board
- Tent loosely with foil and rest for 5–10 minutes
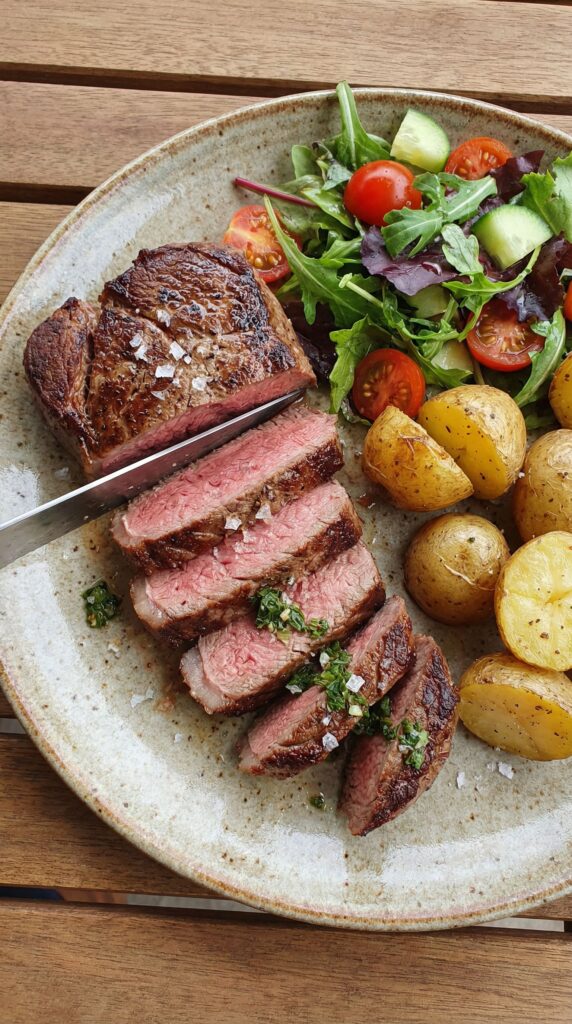
- Slice against the grain if serving sliced
- Add a small pat of butter or finishing salt before serving
Pair your filet eye steak with simple sides like roasted vegetables, mashed potatoes, or a crisp green salad. Keep seasonings minimal so the natural flavor of the steak shines.
Action tip: Always rest before cutting; if you slice right away and see a pool of juice, you’ll know you rushed it.
Conclusion
Cooking filet eye steak in a stainless steel frying pan with a lid is all about control: controlling heat for the sear, timing for doneness, and patience for resting. With a properly preheated pan, a confident sear, and a gentle covered finish, you can achieve a tender, juicy steak that rivals your favorite restaurant.
Follow these steps a few times, adjust the timing to your stove and pan, and you’ll quickly develop an intuitive feel for it. Soon, making a perfectly cooked filet eye steak will be a simple, reliable part of your home cooking routine.